
Painted Wooden Christmas Ornaments - this is a quick and easy DIY craft that's fun for the whole family. Our tutorial will show you how to make your own hand-painted wood ornaments, plus we have ideas for personalizing your ornaments, too. And, don't forget to check out these other DIY cheap Christmas crafts.
FYI, this contains affiliate links. We may earn a small commission when you buy through links on our site, which help support the free content you love here at Juggling Act Mama. Learn more.
Honestly, there are endless possibilities when it comes to painted wood ornaments. This craft uses a bunch of items you can pick up at Dollar Tree so they're quick, easy, and super affordable, too.
Our tutorial will give you the basic steps to create the painted wooden Christmas ornaments that you see here, but there are so many fun ways to personalize this craft and make it your own!
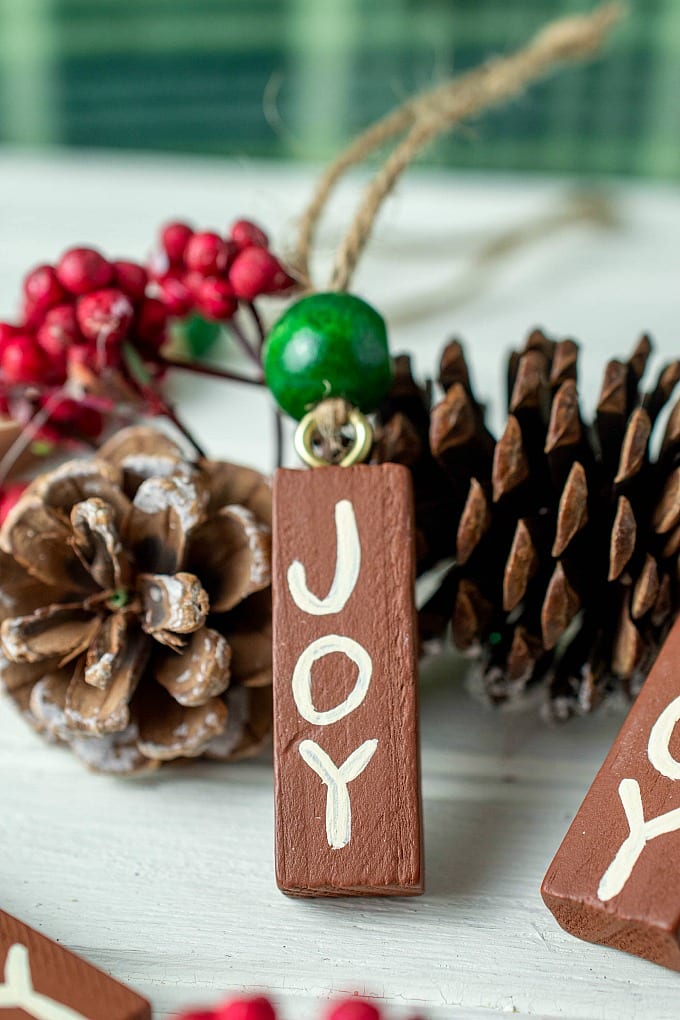
- As you can see, I have painted these with the word JOY. However, you can paint anything you like on them, such as a name or the year. Of course, the more letters, the smaller you need to paint. Thin paint markers work really well if you are not a steady hand with a paint brush.
- Use them to make your own Advent Calendar by painting number 1-24 on them.
- Not only can these be used as ornaments, but you could also use them as decor on your gifts. Just tie them onto presents or gift baskets. (You might also like these fun, free holiday gift tags!)
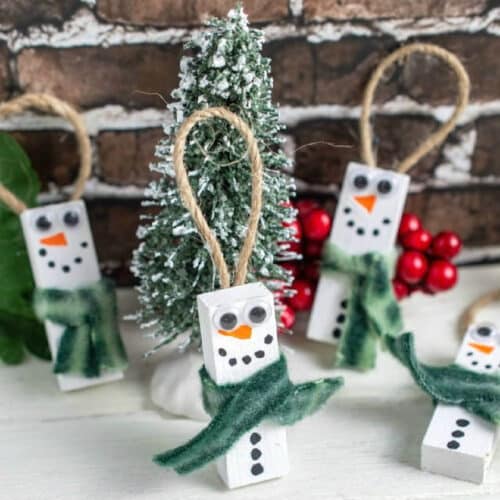
- If you have leftover blocks, use them to make these adorable Snowman Ornaments (pictured below).
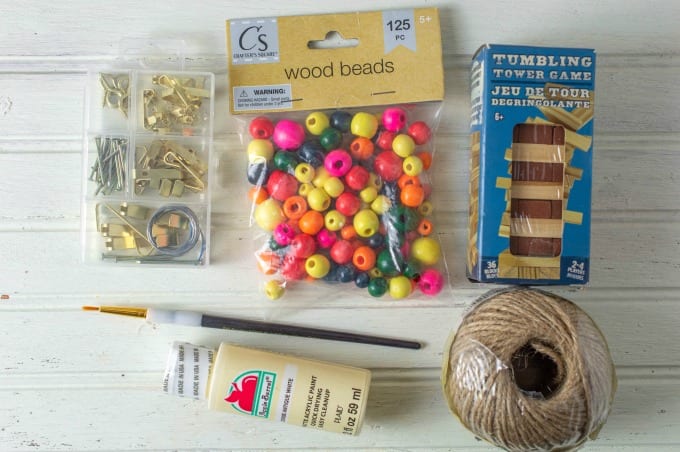
Materials
Makes 8 ornaments
- Wooden blocks - I used the Dollar Tree Tumbling Tower Game with light and dark blocks - or scrap wood cut to approx 4.75"x1.25"
- Wood beads (I used the largest size from 125pc pack)
- 8 eye hooks (from Dollar Tree picture hanging kit)
- Antique white acrylic paint for the lettering (I used Apple Barrel brand)
- Other acrylic paint colors, if desired, for the blocks
- Small detail brush
- Twine or thin ribbon
- Scissors
Tutorial
Here are the step-by-step instructions to make woodblock ornaments like mine:
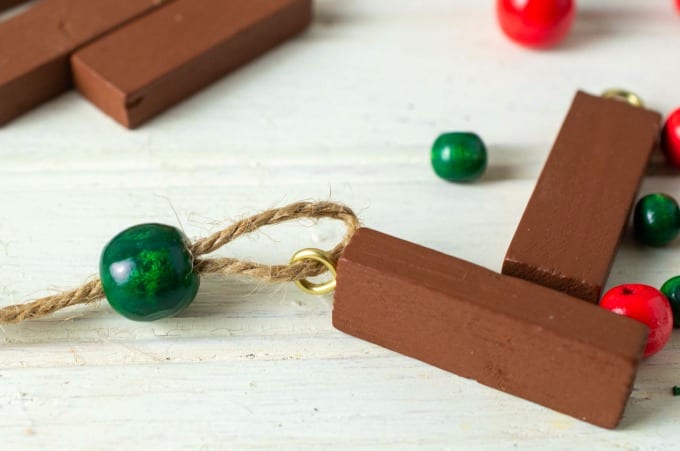
- Start with the eye hook and screw it into the top center of each wooden block.
- Next, cut a piece of twine about 10 inches.
- Put the twine through the eye hook and pull through until even.
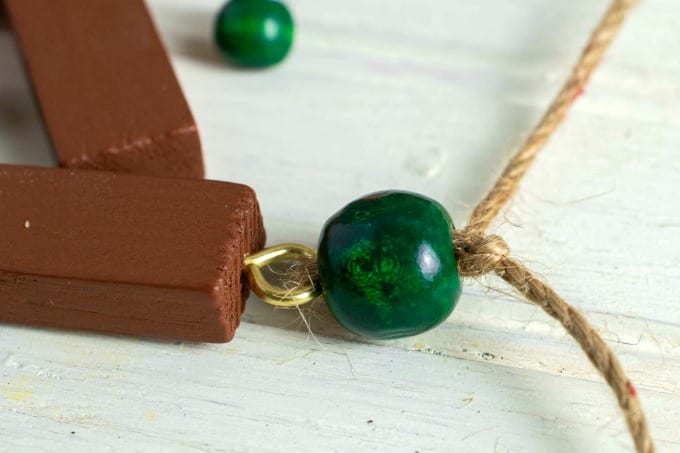
- After that, put both sides of the twine through a bead and pull through until even.
- Push the bead all the way down toward the eye hook and tie a knot in the twine and pull until the knot reaches the top of the bead, securing it next to the eye hook.
- Make another knot at the end to make a loop and trim off ends.
- Finally, use the detail brush to paint the word “JOY” - or any other short word you like - onto the front of the wooden block.
- Let the blocks dry completely before hanging.
Eye Hook Tip: Press the screw into the center to make a little mark. Apply pressure as you turn the eye hook. It may be easier to turn the ornament onto the screw instead.


Similar Projects
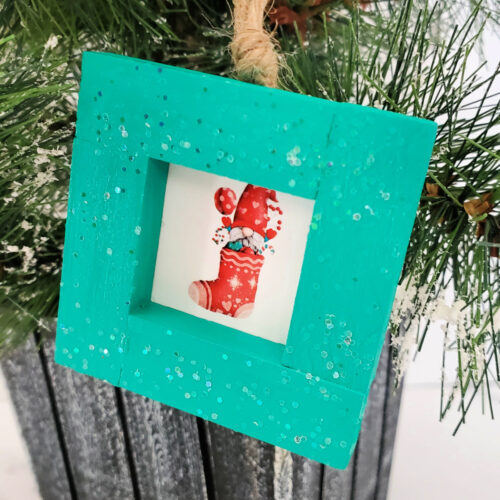
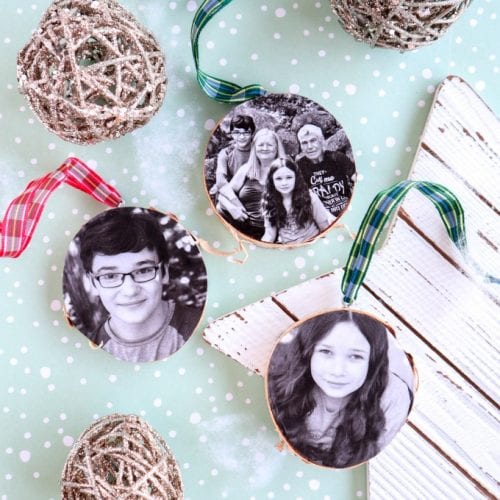
- Wood Photo Ornaments
- Dried Orange Slices for Ornaments
- Wooden Snowman Ornaments
- Galvanized Christmas Ornaments
You can also find more DIY ornament ideas here on my Pinterest board.

Painted Wood Ornaments
As an Amazon Associate, I earn from qualifying purchases.
Equipment
- 8 eye hooks (from Dollar Tree picture hanging kit)
- Small detail brush
- scissors
Materials
- Wooden blocks I used the Dollar Tree Tumbling Tower Game with light and dark blocks - or scrap wood cut to approx 4.75"x1.25"
- Wood beads I used the largest size from 125pc pack
- Antique white acrylic paint for the lettering (I used Apple Barrel brand)
- Other acrylic paint colors Choose your favorites
- Twine or thin ribbon
Instructions
- Start with the eye hook and screw it into the top center of each wooden block.
- Next, cut a piece of twine about 10 inches.
- Put the twine through the eye hook and pull through until even.
- After that, put both sides of the twine through a bead and pull through until even.
- Push the bead all the way down toward the eye hook and tie a knot in the twine and pull until the knot reaches the top of the bead, securing it next to the eye hook.
- Make another knot at the end to make a loop and trim off ends.
- Finally, use the detail brush to paint the word “JOY” - or any other short word you like - onto the front of the wooden block.
- Let the blocks dry completely before hanging.


Comments
No Comments