
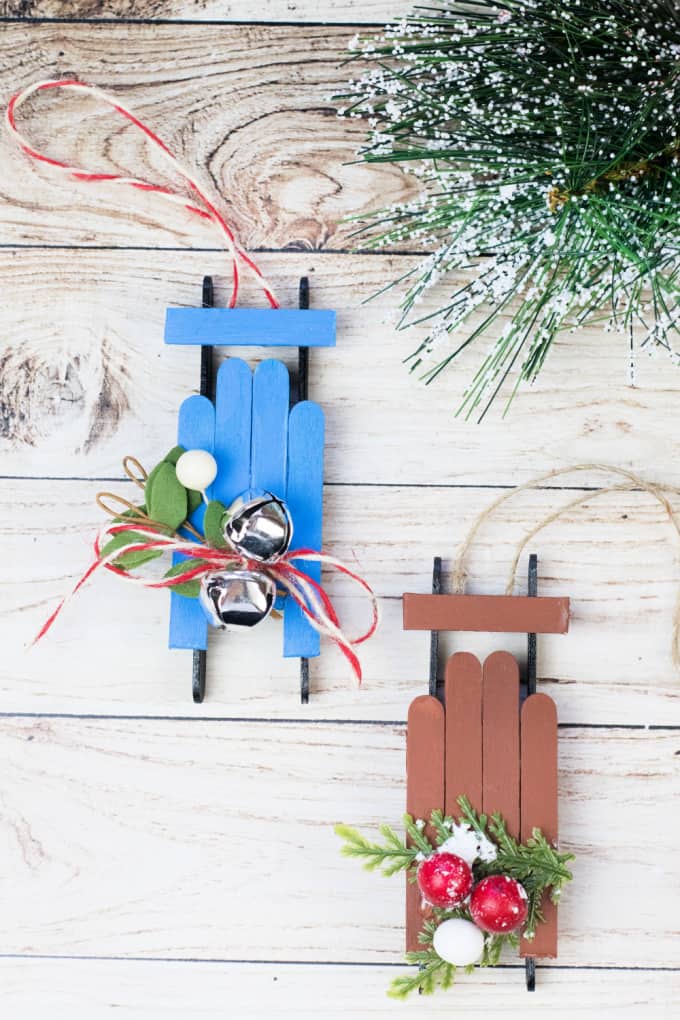
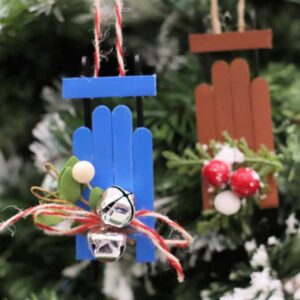
Learn how to make this easy DIY popsicle stick sled ornament for a fun Christmas craft for kids or adults. This is another great Dollar Store Ornament craft that you can make for just a couple of dollars!
Jump to:
FYI, this post and tutorial contain affiliate links. We may earn a small commission when you buy through links on our site, which help support the free content you love here at Juggling Act Mama. Learn more.
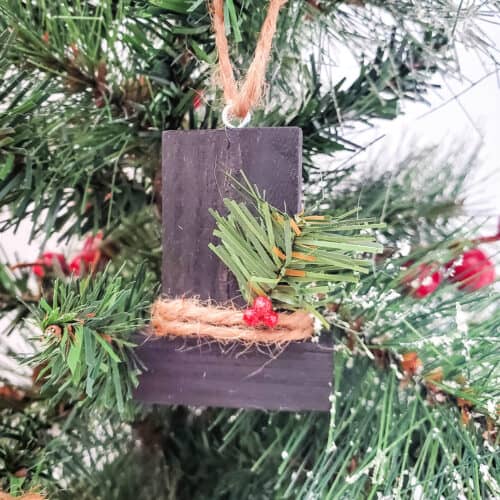
Using wood sticks, glue, and paint, you can make this easy handmade Christmas ornament for your tree! It’s a beautiful ornament that you will treasure for years to come, and a great addition to any Christmas tree.
You can use this DIY to decorate your own tree or attach it to your Christmas presents for an additional cute gift to include with all your gift-giving this year. This DIY is so easy to make that even your kids can do it, but also fun for anyone who wants to do some easy Christmas crafts this year.
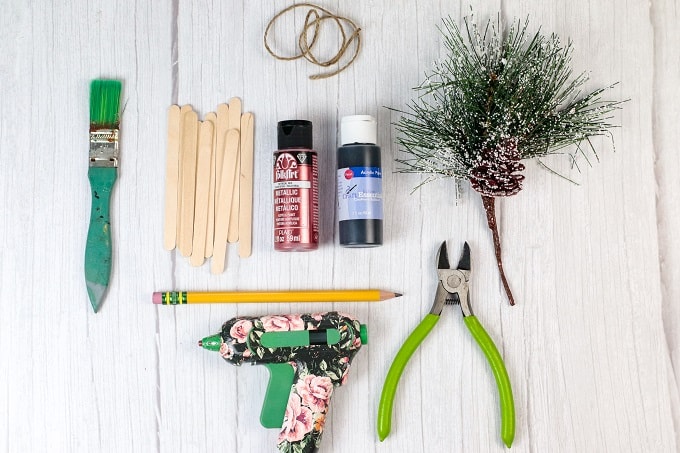
✂️ Supplies Needed
The following are affiliate links. We are a participant in the Amazon Services LLC Associates Program, an affiliate advertising program designed to provide a means for us to earn fees by linking to Amazon.com and affiliated sites.
You can find most of the craft supplies you need at your local Dollar Tree.
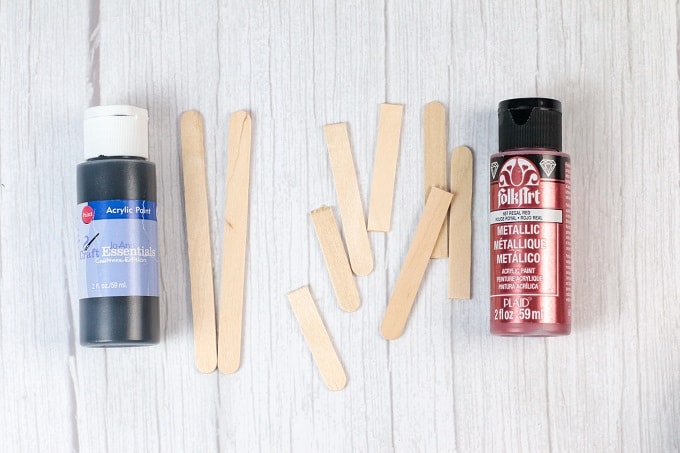
- Craft sticks
- Craft brushes
- Holiday greenery
- Ribbon or twine
- Acrylic craft paint
- Glue Gun
- White school or Tacky glue
- Pencil
- Floral wire cutters
- Craft scissors
Be sure to check out my Juggling Act Mama Storefront on Amazon where you'll find all kinds of great products that will make your life easier! Thanks so much for being a part of Juggling Act Mama ❤

📝Instructions
This is meant to be a brief overview of this fun DIY ornament project. For step-by-step instructions and a full printable tutorial with materials, please scroll down to the teal box below.
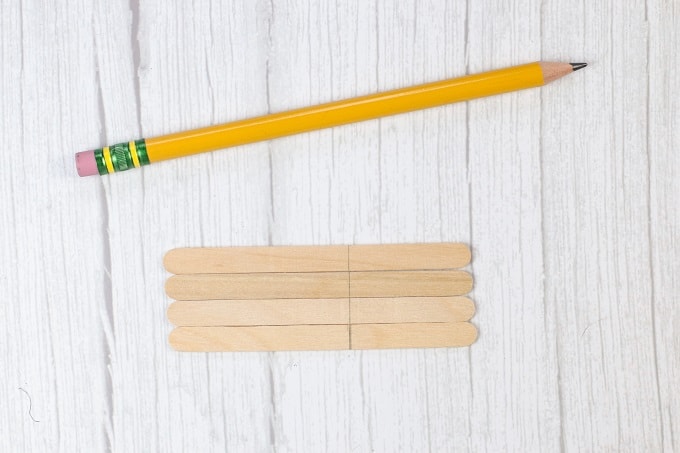
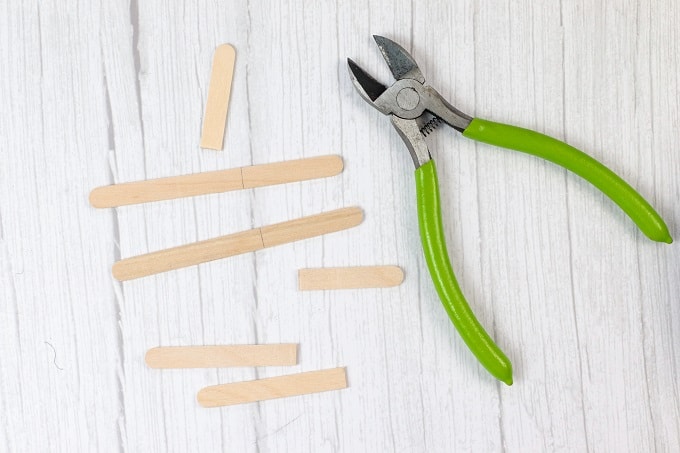
Steps 1-2: Measure and using either the floral wire cutters or craft scissors, cut your craft sticks into the following: (4)-2 ½” pieces, (2)-3 ½ cm pieces, and (1)-1 ¾” piece
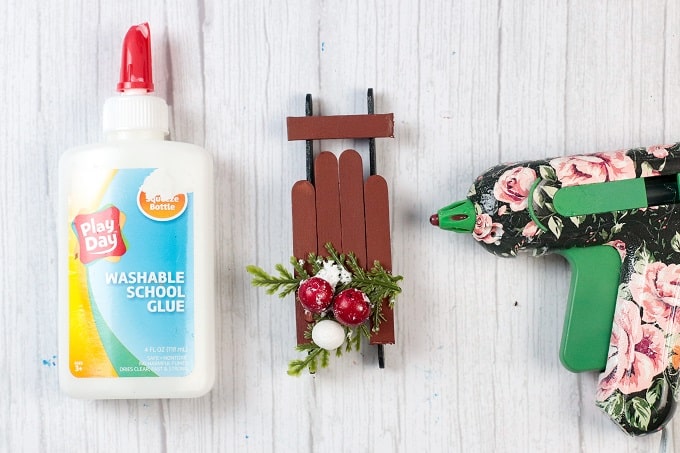
Step 3: Paint your smaller pieces one color (be sure to paint the edges) and paint 2 full-size craft sticks, which will be the blades of the sled another color and allow the paint to dry completely.
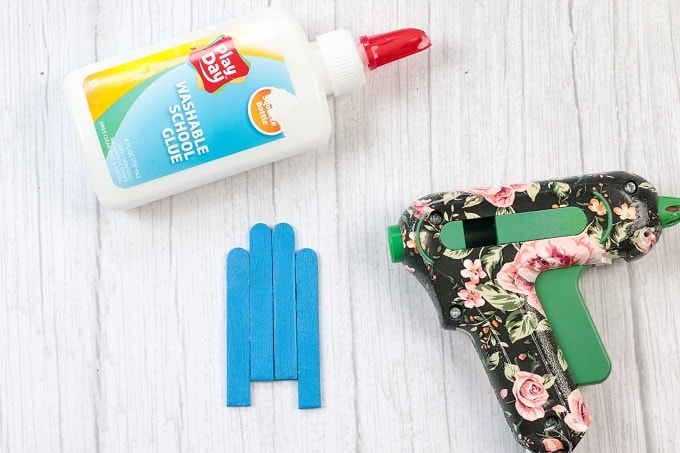
Step 4: Glue the (4)-2 ½” pieces together, using either a glue gun or the white school or Tacky glue. Begin by gluing the 2 middle pieces together, joining them together in the middle, and allowing the glue to dry completely. (Do this for each piece(s) you glue onto each other). Glue the next 2 pieces on either side, but measure down 1 cm, so your sled doesn’t go straight across on all 4 pieces (see photo)
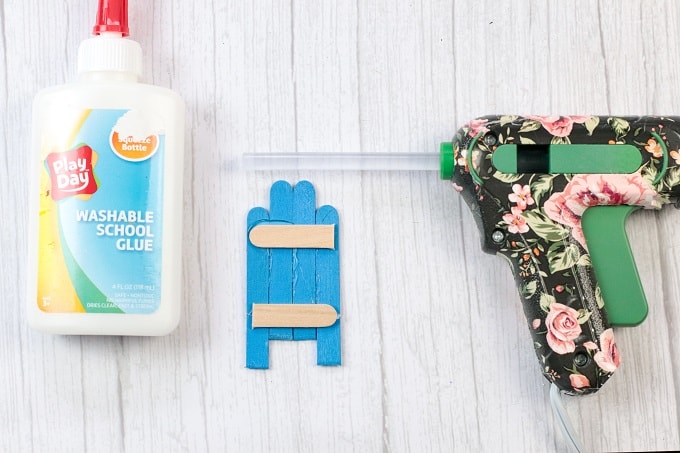
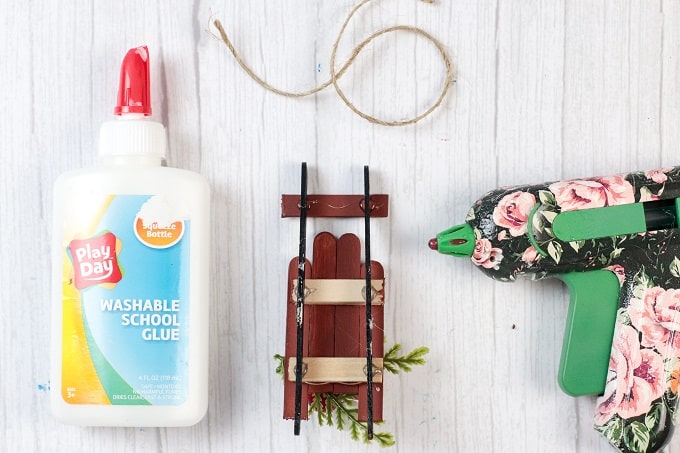
Step 5: Once the 4 main pieces are totally dry, turn over. Measure down 1 ½ cm from the top and glue down one of the 3 ½ cm pieces onto the body of the sled. Measure up ½ cm from the bottom and glue the other 3 ½ cm piece.
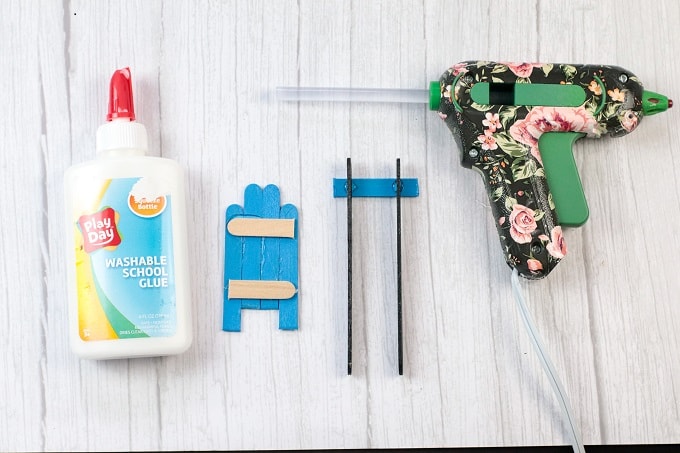
Step 6: Take your 1 ¾” piece and measure in 1 ½ cm on the right side and glue on your blades. We have the tip of our blade measuring out about 1 ½ cm from where we glued it on. Repeat on the other side. Be sure your glue is totally dry, and the blades are on sturdy before moving on to the next step.
Step 7: Turn the sled over and attach any embellishments or holiday greenery you like.
Step 8: Cut a length of ribbon or twine approximately 7-8”, form a loop, and tie in a small secure knot at the end. Allow to dry completely.
Similar Projects
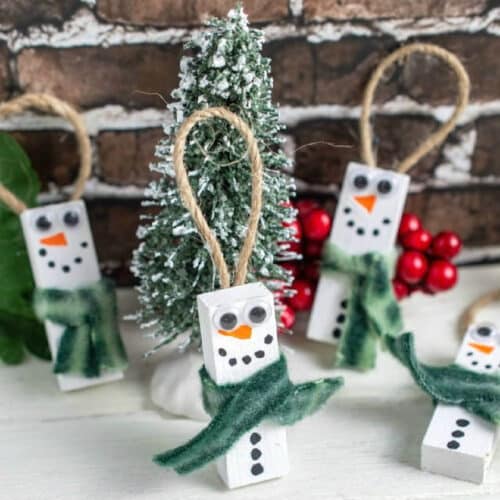
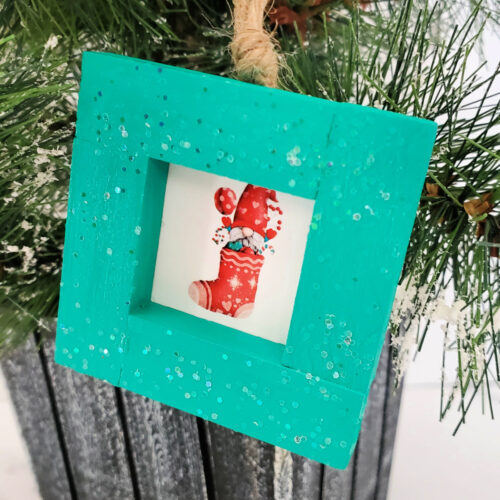
Here are some other holiday DIY projects you will also enjoy:
- Wood Slice Ornament Ideas - the perfect gift ornament for family!
- How to Make a Kissing Ball - celebrate the holidays with this new tradition.
- Yarn Tree Christmas Craft for Kids - these are easy to make and would make a great class project!
- Paper Mache Ornament Cricut Craft - Versatile and easy to make!
- Wood Slice Ornaments - Cricut Craft - these ornaments will make your Christmas just a bit more Merry and Bright.
📋 Popsicle Stick Sled Ornament
Not ready to make these cute ornaments yet? Don’t forget to pin this project for later! When you do make them, please be sure to tag me on Instagram @jugglingactmama or #jugglingactmama – I’d love to see your pictures!
Popsicle Stick Sled Ornament
As an Amazon Associate, I earn from qualifying purchases.
Equipment
- Craft brushes
- Glue Gun and Glue
- White school or Tacky glue
- pencil
- Floral wire cutters
- Craft scissors
Materials
- Craft sticks
- Holiday greenery
- Ribbon or twine
- Acrylic craft paint
Instructions
- Measure and using either the floral wire cutters or craft scissors, cut your craft sticks into the following: (4)-2 ½” pieces, (2)-3 ½ cm pieces, and (1)-1 ¾” piece.Craft sticks
- Paint your smaller pieces one color (be sure to paint the edges) and paint 2 full-size craft sticks, which will be the blades of the sled another color and allow the paint to dry completely.Acrylic craft paint
- Glue the (4)-2 ½” pieces together, using either a glue gun or the White school or Tacky glue. Begin by gluing the 2 middle pieces together, joining them together in the middle, and allowing the glue to dry completely. (Do this for each piece(s) you glue onto each other).
- Glue the next 2 pieces on either side, but measure down 1 cm, so your sled doesn’t go straight across on all 4 pieces (see photo)
- Once the 4 main pieces are totally dry, turn over. Measure down 1 ½ cm from the top and glue down one of the 3 ½ cm pieces onto the body of the sled. Measure up ½ cm from the bottom and glue the other 3 ½ cm piece.
- Take your 1 ¾” piece and measure in 1 ½ cm on the right side and glue on your blades. We have the tip of our blade measuring out about 1 ½ cm from where we glued it on. Repeat on the other side. Be sure your glue is totally dry, and the blades are on sturdy before moving on to the next step.
- Turn the sled over and attach any embellishments or holiday greenery you like.Holiday greenery
- Cut a length of ribbon or twine approximately 7-8”, form a loop, and tie in a small secure knot at the end. Allow to dry completely.Ribbon or twine
Comments
No Comments