
Dividing daylilies is a great way to keep your garden thriving or share your love for daylilies with someone else. Whatever reason you have for needing to divide them, this guide will make sure you do it right, without ruining your daylilies in both your new garden and the old one.
Jump to:
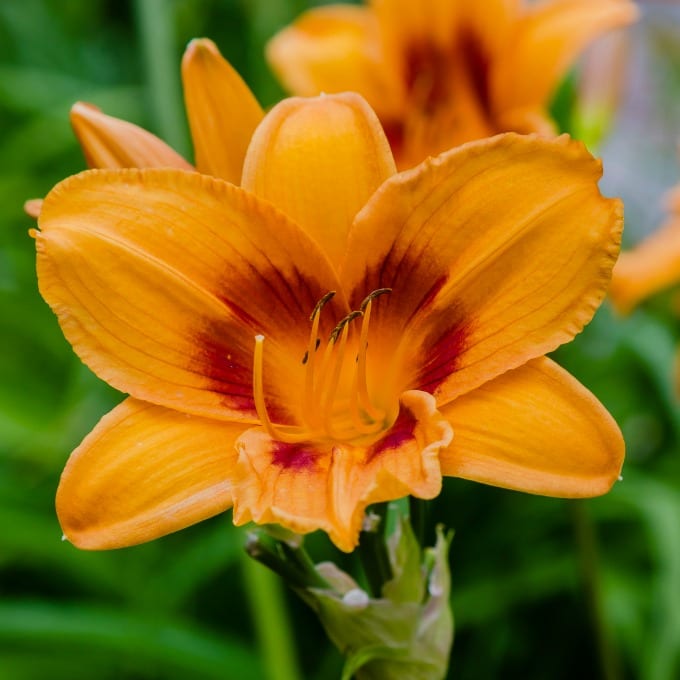
Daylilies are inexpensive, easy, and a beautiful perennial to add to your backyard garden. I love these low maintenance plants.
They are also one of the easiest perennials to divide. It is a great way to share them with friends or family or expand your own daylily collection.
I started a whole new garden bed simply by transplanting daylilies from one area of my yard to another. I cannot wait until next Spring to see how my new planting site looks in full bloom.
It's simple. All you have to do is trim the leaves, dig up the clump, divide them into smaller groups by untangling the roots, and replant.
(Be sure to also check out this post for more information on How to Grow Daylilies.) Let me show you how to divide your daylilies.

How do you divide and replant daylilies?
When you have a clump of daylilies that are becoming too dense or want to move them somewhere else, you will need to divide and replant them. If the clump becomes too dense, you will get fewer flowers, so don’t skip this step!
Here are the steps to divide and replant:
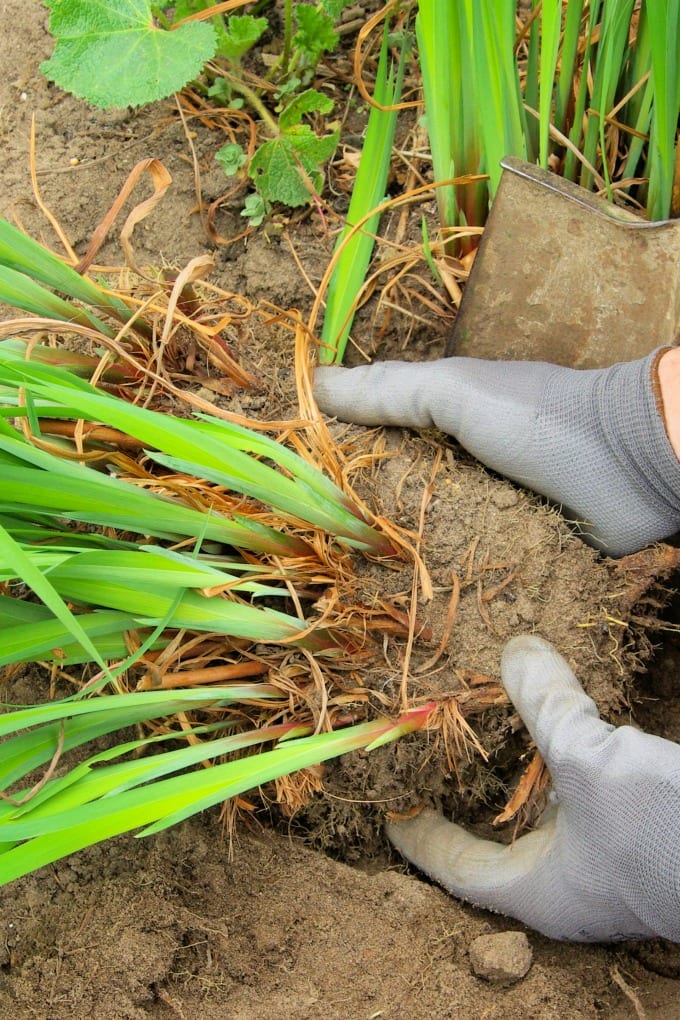
- Dig up clumps of daylilies and shake any excess soil off.
- Next, use a weeding tool to pull the clump apart into various sections that contain several of the fleshy roots. You need to make sure you have at least 1-2 fans of leaves, however, for best results, 3-4 are better because they’ll reestablish quicker once planted.
- Cut back the leaves to six inches before replanting in a new location.
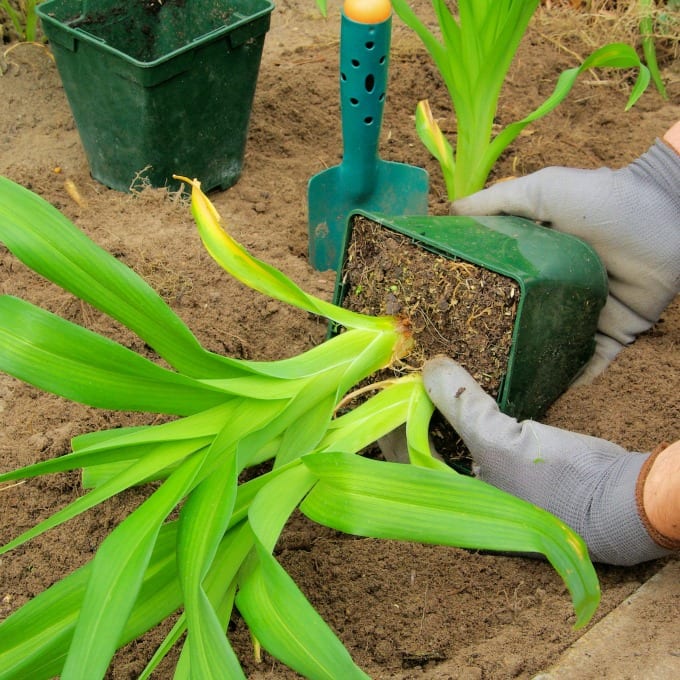
When you’re ready to replant your daylilies, make sure to follow these steps:
- Space your daylilies at least 18-24 inches apart.
- Dig a hole that is big enough for the daylily roots to spread out.
- Next, build a cone of soil right in the middle of the hole and spread the roots along the cone.
- Plant your daylily divisions, so the crowns are an inch or less under the soil.
- Make sure that the soil is firm around the roots.
- Water well.
How often should you split them?
Dividing and splitting daylilies comes down to part personal preference and the other part based on your plant. You will want to split and divide them only when you’re ready to move them, or if you're going to break up your larger clumps.
As we mentioned earlier, you won’t get as many flower buds if they are too close together, so you may want to move some over time. Year after year, you will see new growth.
When should you split daylilies?
You will want to transplant your daylilies in the early spring or or late summer into early September. While you could do this any time of year, this is the ideal time to do them as this is most tolerant.
If you want them to become established quicker, make sure that you maintain moderate soil temperature.
They will still be planted in time to bloom for that year when they are transplanted in the early spring. However, if you transplant them during the summer, they won’t bloom until the following year. If you do it in the fall, they will need six more weeks before the frost to become established, but won’t delay your next bloom season.
💭 Frequently Asked Questions
Here are some questions (and answers!) readers often ask about growing and transplanting daylilies.
Daylillies prefer full sun, but will also tolerate light shade.
Ideally, these beautifu; flowers need 4-6 hours of sun each day.
Daylillies will bloom from 1 to 5 weeks, depending on the variety, and where you live. To keep them blooming longer, be sure to deadhead the plants often.
Transplant shock happens when the roots are damaged in the process of dividing individual plants. The good news is that daylilies are a tough plant.
While your transplant daylilies might look a little wilted for a couple of days, they should perk up in their new home in about a week.
Need More Information?
This is one of my favorite resources for dividing daylilies.
More Gardening Ideas


Comments
No Comments